In het onderstaande artikel gaan we WordPress installeren op een Raspberry PI. We installeren deze met NGINX en een gratis ssl certificaat van Let’s Encrypt.
Start met de basis installatie van de Raspberry Pi, zie Raspberry Pi OS installeren. Kies de 64Bits Lite versie voor een Raspberry PI 3, deze werk ook op een 4.
Meld met ssh aan op je Raspberry PI.
Als eerste stap gaan we er zorgen dat de Raspberry Pi helemaal up-to-date is.sudo apt-get update && sudo apt-get upgrade
Installeer NGINX met de onderstaande commando’ssudo apt-get install nginx -y
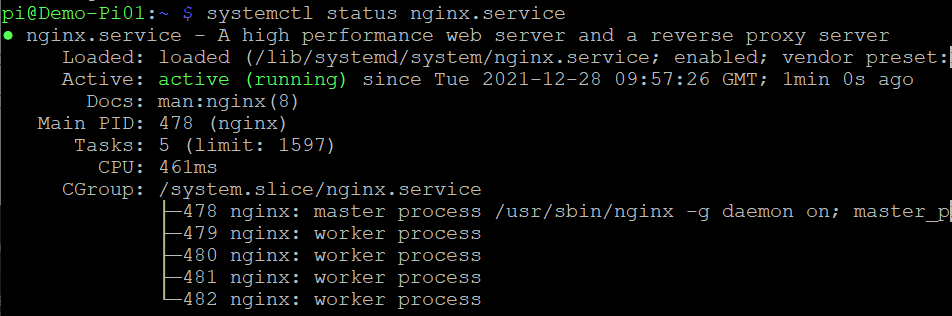
Als de installatie is afgerond testen we of deze succes vol is verlopen met het onderstaande commando, als het goed krijg je dan het onderstaande scherm te zien.systemctl status nginx.service
Installeer MariaDB database server door het onderstaande commando uit te voeren.sudo apt-get install mariadb-server mariadb-client -y
Installeer PhP versie 7.4, er is inmiddels een 8.x versie maar deze werkt nog niet goed met NGINX.
Voer het onderstaande commando uit.sudo apt-get install php7.4 php7.4-fpm php7.4-mysql -y
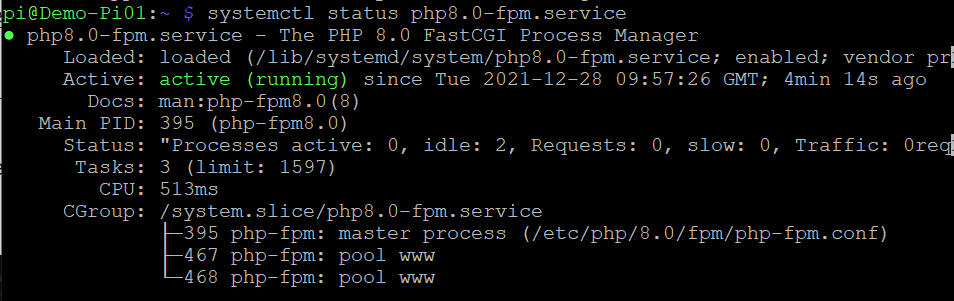
Als de installatie is afgerond testen we of deze succes vol is verlopen met het onderstaande commando, als het goed krijg je dan het onderstaande scherm te zien.systemctl status php7.4-fpm.service
Installeer WordPress door de onderstaande command’s uit te voeren. Waar in het onderstaande wpdemo.nl staat kan je jouw domein gebruiken, dit is de folder waar je jouw website vindt.cd /var/wwwsudo wget https://wordpress.org/latest.tar.gz
sudo tar xvfz latest.tar.gz
sudo rm latest.tar.gz
sudo mv wordpress wpdemo.nlsudo chown -R www-data:www-data /var/www/wpdemo.nl
Aanmaken NGINX configuratie bestand. Type het onderstaande commando.sudo nano /etc/nginx/sites-enabled/wpdemo.nl.conf
Plaats de onderstaande tekst in het scherm dat nu open staat. Vervang wpdemo.nl door jouw domein en vervang het subnet door jou subnet. Sla het bestand op met Ctrl-O en daarna Enter, Ctrl-X.
# WordPress single site rules.
# Designed to be included in any server {} block.
# Upstream to abstract backend connection(s) for php
upstream php {
        server unix:/run/php/php7.4-fpm.sock;
}
server {
        listen   80;
        ## Your website name goes here.
        server_name wpdemo.nl www.wpdemo.nl;
        ## Your only path reference.
        root /var/www/wpdemo.nl;
        ## This should be in your http block and if it is, it's not needed here.
        index index.php;
        location = /favicon.ico {
                log_not_found off;
                access_log off;
        }
        location = /robots.txt {
                allow all;
                log_not_found off;
                access_log off;
        }
        location / {
                # This is cool because no php is touched for static content.
                # include the "?$args" part so non-default permalinks doesn't break when using query string
                try_files $uri $uri/ /index.php?$args;
        }
        location ~ \.php$ {
                #NOTE: You should have "cgi.fix_pathinfo = 0;" in php.ini
                include fastcgi.conf;
                fastcgi_intercept_errors on;
                fastcgi_pass php;
                fastcgi_buffers 16 16k;
                fastcgi_buffer_size 32k;
        }
        location ~* \.(js|css|png|jpg|jpeg|gif|ico)$ {
                expires max;
                log_not_found off;
        }
# Deny access to any files with a .php extension in the uploads directory
# Works in sub-directory installs and also in multisite network
# Keep logging the requests to parse later (or to pass to firewall utilities such as fail2ban)
        location ~* /(?:uploads|files)/.*\.php$ {
                deny all;
       }
# Deny all attempts to access hidden files such as .htaccess, .htpasswd, .DS_Store (Mac).
# Keep logging the requests to parse later (or to pass to firewall utilities such as fail2ban)
        location ~ /\. {
                deny all;
       }
#WP-Admin block external access
        location /wp-admin {
                allow 192.168.178.0/24;
                deny all;
                include snippets/fastcgi-php.conf;
                fastcgi_pass unix:/var/run/php/php7.4-fpm.sock;
                fastcgi_split_path_info ^(.+\.php)(/.+)$;
   }
        location = /wp-login.php {
                allow   192.168.178.0/24;
                deny    all;
                include snippets/fastcgi-php.conf;
                fastcgi_pass unix:/run/php/php7.4-fpm.sock;
    }
}
Aanpassen van het standaard NGINX configuratie bestand.
Type het onderstaande commando.sudo nano /etc/nginx/sites-enabled/default
server {
        listen 80 default_server;
        listen [::]:80 default_server;
        # SSL configuration
        root /var/www/wpdemo.nl;
        index index.html index.htm index.nginx-debian.html;
        server_name _;
        location / {
                # First attempt to serve request as file, then
                # as directory, then fall back to displaying a 404.
                try_files $uri $uri/ =404;
        }
Herstart nu NGINX om de configuratie uit te voeren.sudo systemctl restart nginx.service
Controleer met het onderstaande commando of er geen fouten in de conf file zitten.sudo nginx -t
Type de onderstaande commando’s in om een database en user aan te maken voor WordPress.
sudo mariadb
CREATE DATABASE wpdemo;
CREATE USER 'wpuser'@'localhost' IDENTIFIED BY 'jouwwachtwoordhier';
GRANT ALL ON wpdemo.* TO 'wpuser'@'localhost';
EXIT;
WordPress adviseert om de regel cgi.fix_pathinfo = 0 toe te passen. Open met het onderstaande commando het bestand en pas dit aan. Zoeken doe je in Nano met Ctrl-W. Sla het bestand op met Ctrl-O en daarna Enter, Ctrl-X. sudo nano /etc/php/7.4/fpm/php.ini

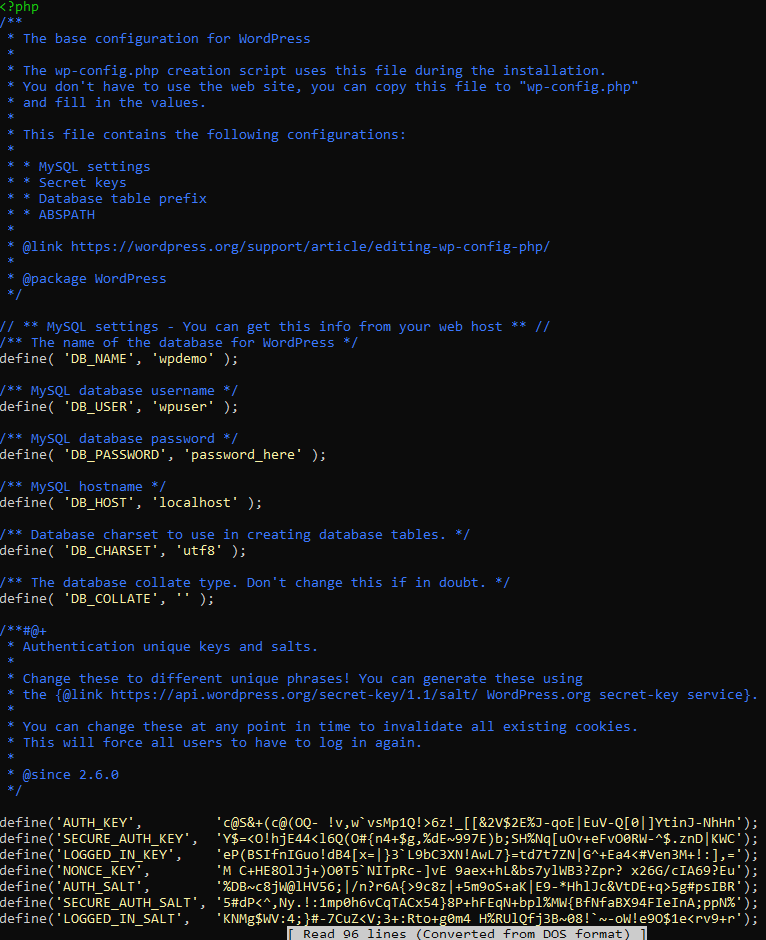
Aanpassen WordPress configuratie, voer de onderstaande commando’s uit, waar wpdemo.nl staat voer je jouw domein in.sudo mv /var/www/wpdemo.nl/wp-config-sample.php /var/www/wpdemo.nl/wp-config.phpsudo nano /var/www/wpdemo.nl/wp-config.php
In het wp-config.php bestand geef je jou database en username op en het wachtwoord. Wat verder naar beneden staat de WordPress api gedefinieerd, ga naar https://api.wordpress.org/secret-key/1.1/salt/ om hier jouw unieke configuratie binnen te halen. Zie hieronder het voorbeeld.
We gaan nu lokaal testen of het werkt, pas hiervoor de host file aan, in Windows vindt je die in C:\Windows\System32\drivers\etc. Voeg het IP adres en hostname toe aan de host file.
192.168.178.178 wpdemo.nl
192.168.178.178 www.wpdemo.nl
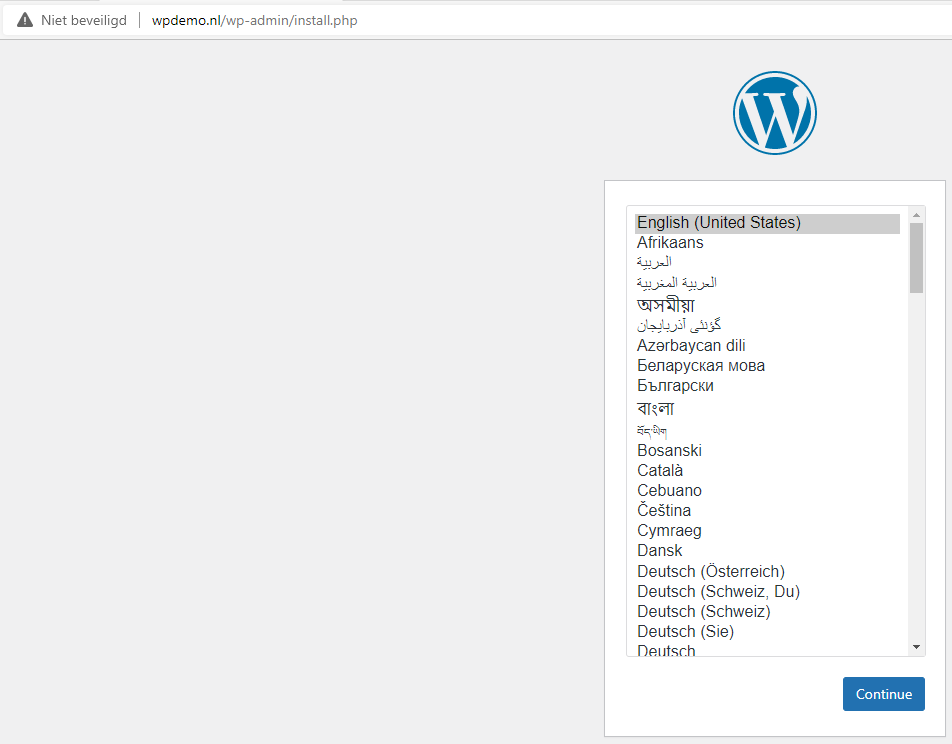
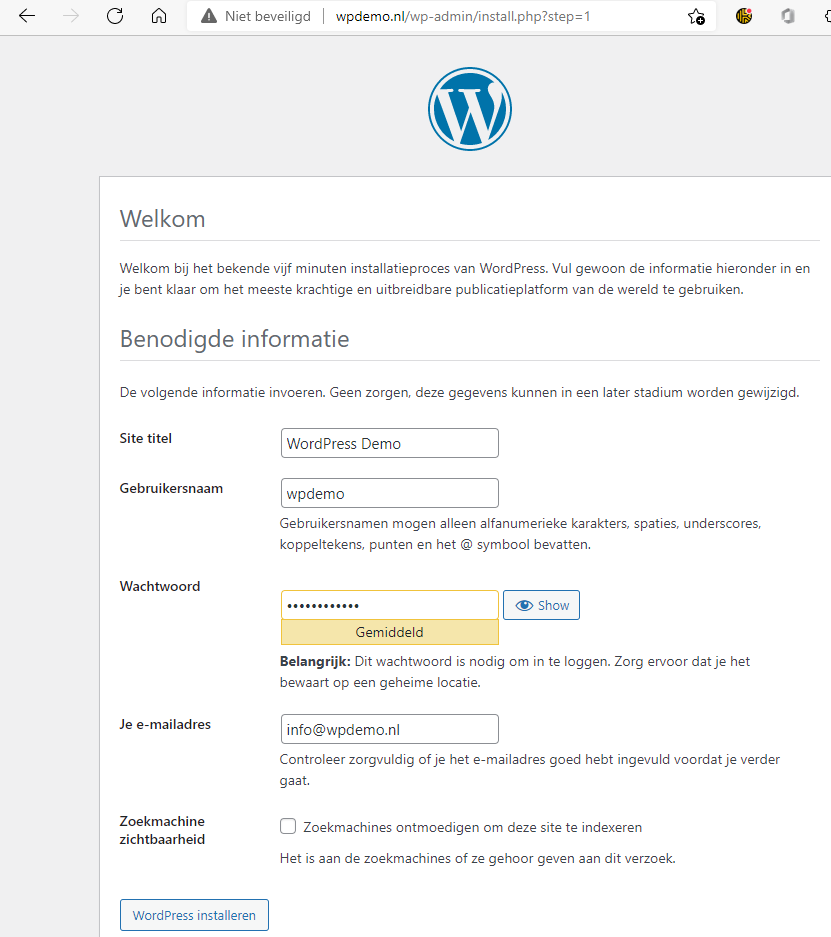
Als je nu in de browser naar de opgegeven domeinnaam gaat kan je verder gaan met de WordPress setup. Doorloop de stappen en kies WordPress installeren, je kan nu aanmelden. Zoals je gezien hebt heeft de site nog geen certificaat, dus sla de volgende stap niet over.
Installatie Certbot, Voor deze stap is het nodig dat je een portforwarding van port 80 en 443 naar je RaspBerry Pi hebt open staan ander wordt het domein niet herkend. Uiteraard moet er ook een A record aangemaakt worden naar jou externe IP adres. Doe dit dus eerst.sudo apt install certbot python3-certbot-nginxsudo certbot --nginx
1. Vul jouw e-mailadres in
2. Y Enter
3. Y Enter
4. Kies je domein bijvoorbeeld 1,2 Enter
Je Certificaat is aangemaakt en drie maanden geldig.
We gaan er nu voor zorgen dat het certificaat automatisch verleng t wordt, door een crontab aan te maken.sudo crontab -e
Voer de onderstaande regel toe en sla het bestand op met Ctrl-O en daarna Enter, Ctrl-X.
0 0 * * 1 certbot renew
We maken nu een Diffie-Hellman group aan de uitwisseling van strek beveiligde sleutels regelt. Dit duurt aardig lang.sudo openssl dhparam -out /etc/ssl/certs/dhparam.pem 2048
Herstart NGINXsudo systemctl restart nginx.service