Om op je website de veiligheid en integriteit te waarborgen gebruik je security headers.
In het onderstaande artikel laat ik zien hoe ik de headers aan mijn NGINX webserver heb toegevoegd . Je gebruikt de Headers in de conf file van de webserver, deze vindt je in /etc/nginx/sites-enabled/jouwwebsite.nl. In het onderstaande voorbeeld gebruik ik de webserver die ik heb gebouwd in het artikel WordPress op een Raspberry PI.
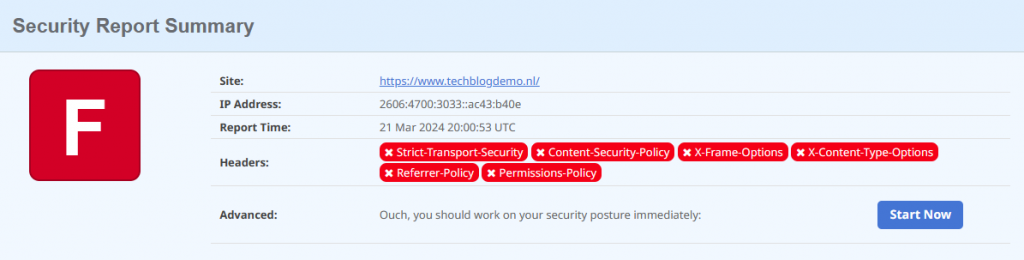
We testen de security headers met de website https://securityheaders.com hier is een schermafbeelding van hoe we beginnen.
Log in op je webserver via SSH, voer het onderstaande commando uit en vervang ’techblogdemo.nl’ door je eigen domeinnaam. In het configuratiebestand moet je alleen de vetgedrukte tekst toevoegen, dus de regels die beginnen met ‘add_header’.
sudo nano /etc/nginx/sites-enabled/techblogdemo.nl.conf# WordPress single site rules.
# Designed to be included in any server {} block.
# Upstream to abstract backend connection(s) for php
upstream php {
server unix:/run/php/php7.4-fpm.sock;
}
server {
listen 80;
## Your website name goes here.
server_name techblogdemo.nl www.techblogdemo.nl;## Your Security Headers here.
add_header Content-Security-Policy "default-src 'self' https://*.techblogdemo.nl; form-action 'self' https://*.techblogdemo.nl; base-uri 'self' https://*.techblogdemo.nl; frame-ancestors 'none'";
add_header X-Content-Type-Options "nosniff" always;
add_header X-XSS-Protection "1; mode=block";
add_header X-Frame-Options "SAMEORIGIN";
add_header 'Access-Control-Allow-Origin' 'https://www.techblogdemo.nl' always;
add_header 'Access-Control-Allow-Methods' 'GET, POST, OPTIONS' always;
add_header 'Access-Control-Allow-Headers' 'DNT,User-Agent,X-Requested-With,If-Modified-Since,Cache-Control,Content-Type,Range' always;
add_header Permissions-Policy "geolocation= (self https://techblogdemo.nl), microphone=(none)";
add_header Strict-Transport-Security "max-age=31536000; includeSubDomains" always;
add_header Referrer-Policy "strict-origin"; ## Your only path reference.
root /var/www/techblogdemo.nl;
## This should be in your http block and if it is, it's not needed here.
index index.php;
location = /favicon.ico {
log_not_found off;
access_log off;
}
location = /robots.txt {
allow all;
log_not_found off;
access_log off;
}
location / {
# This is cool because no php is touched for static content.
# include the "?$args" part so non-default permalinks doesn't break when using query string
try_files $uri $uri/ /index.php?$args;
}
location ~ \.php$ {
#NOTE: You should have "cgi.fix_pathinfo = 0;" in php.ini
include fastcgi.conf;
fastcgi_intercept_errors on;
fastcgi_pass php;
fastcgi_buffers 16 16k;
fastcgi_buffer_size 32k;
}
location ~* \.(js|css|png|jpg|jpeg|gif|ico)$ {
expires max;
log_not_found off;
}
# Deny access to any files with a .php extension in the uploads directory
# Works in sub-directory installs and also in multisite network
# Keep logging the requests to parse later (or to pass to firewall utilities such as fail2ban)
location ~* /(?:uploads|files)/.*\.php$ {
deny all;
}
# Deny all attempts to access hidden files such as .htaccess, .htpasswd, .DS_Store (Mac).
# Keep logging the requests to parse later (or to pass to firewall utilities such as fail2ban)
location ~ /\. {
deny all;
}
#WP-Admin block external access
location /wp-admin {
allow 192.168.178.0/24;
deny all;
include snippets/fastcgi-php.conf;
fastcgi_pass unix:/var/run/php/php7.4-fpm.sock;
fastcgi_split_path_info ^(.+\.php)(/.+)$;
}
location = /wp-login.php {
allow 192.168.178.0/24;
deny all;
include snippets/fastcgi-php.conf;
fastcgi_pass unix:/run/php/php7.4-fpm.sock;
}
}Herstart nu je nginx met het onderstaande commando:
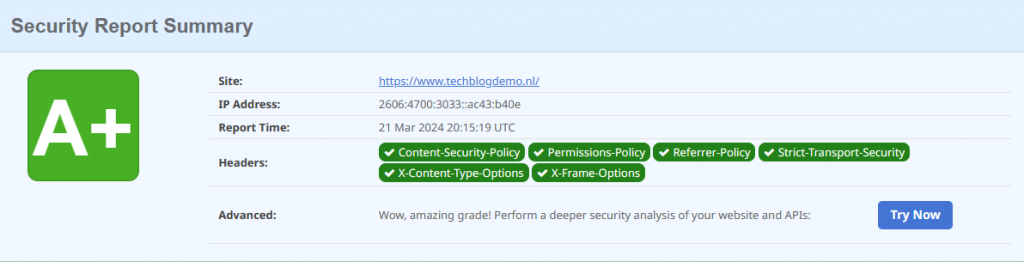
sudo systemctl restart nginx.serviceTest je website nu nogmaals op https://securityheaders.com, als het goed is heb je nu het onderstaande resultaat.